Windows servers use .pfx/.p12 files to contain the public key file (SSL Certificate) and its unique private key file. The Certificate Authority (CA) provides you with your SSL Certificate (public key file). You use your server to generate the associated private key file where the CSR was created.
You need both the public key and private keys for an SSL certificate to work properly on any system. Windows uses the pfx/p12 file to contain these two keys; therefore, if you need to transfer your SSL certificate from one server to another or take the certificate from IIS to FortiMail you will need to create this file first.
To move a certificate from Windows IIS 7.0 – 8.5 with its private key and transfer it to FortiMail, perform the following steps.
Step 1: Create an MMC Snap-in for Managing Certificates:
- Start > run > MMC.
- Go into the Console Tab > File > Add/Remove Snap-in.
- Click on Add > Click on Certificates and click on Add.
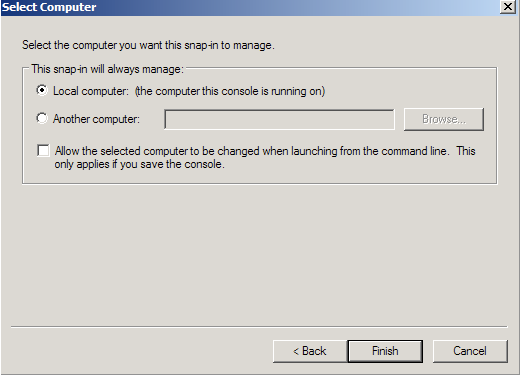
- Choose Computer Account > Next.
- Choose Local Computer > Finish.
- Close the Add Standalone Snap-in window.
- Click on OK at the Add/Remove Snap-in window.
Step 2: Export/Backup certificate to .pfx file:
- In MMC Double click on Certificates (Local Computer) in the center window.
- Double click on the Personal folder, and then on Certificates.
- Right Click on the Certificate you would like to backup and choose > ALL TASKS > Export
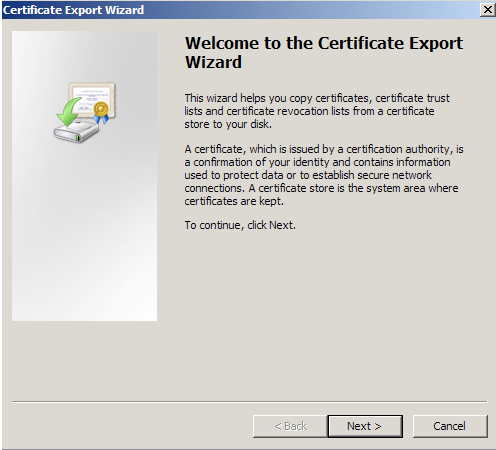
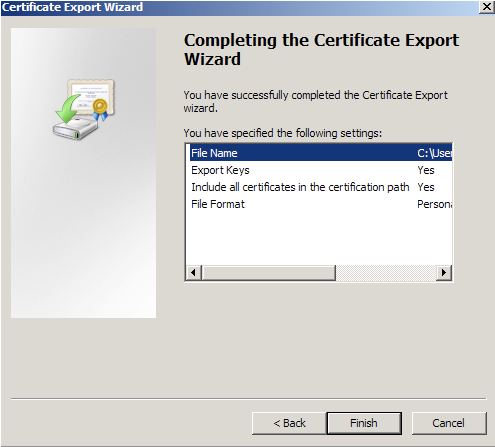
- Follow the Certificate Export Wizard to backup your certificate to a .pfx file.
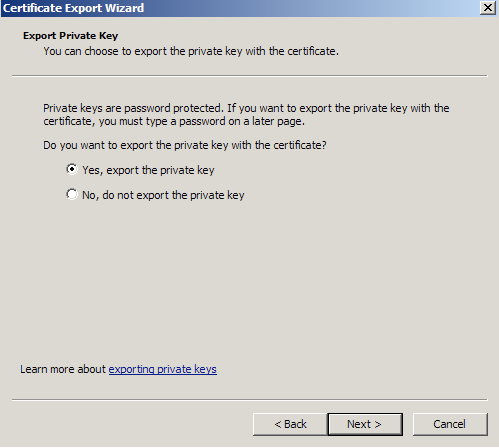
- Choose to ‘Yes, export the private key‘
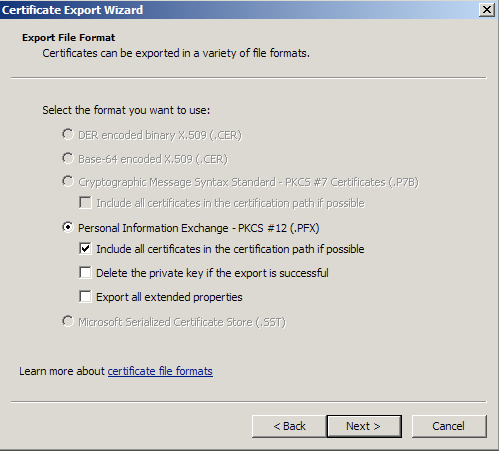
- Choose to “Include all certificates in certificate path if possible.” (do NOT select the delete Private Key option)
- Enter a password you will remember.
- Choose to save file on a set location.
- Click Finish.
- You will receive a message > “The export was successful.” > Click OK. The .pfx file backup is now saved in the location you selected and is ready to be moved to your FortiMail system.You have successfully performed an Export a certificate from Windows IIS 7.0 – 8.5.
Step 3: Importing .PFX/PKCS#12 certificate into FortiMail:
After you move your ..pfx file to your FortiMail system, perform the following.
- Move your .pfx file to your FortiMail system.
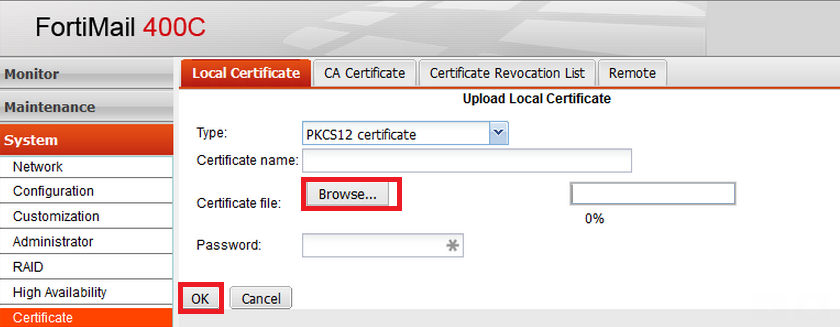
- Got to System > Certificate > Local Certificate.
- Under Type drop down select PKCS12 certificate.
- Click Browse. Specify the file name and path of your backed up .pfx file.
- Under Password enter the password you used back when you created your back up .pfx file
- Click OK.
You have imported your backed up .pfx file into FortiGate.
Step 4: Configuring your FortiGate VPN to use the new SSL certificate:
- Browse to VPN > SSL > Settings.
- In the Connection Settings section under the Server Certificate drop down select your new SSL certificate.
- Click ApplyYou have configured the ForitMail to use the backed up SSL certificate.
If you are unable to use these instructions for your server, Acmetek recommends that you contact either the vendor of your software or the organization that supports it.
FortiGate Support:
For more information refer to FortiGate.


