ConsoleOne is a Java-based tool for managing your network and its resources. Some of its core functionality includes managing Novell eDirectory objects, schema, partitions, and replicas. In addition, complete NetWare server management is readily available, such as managing users, groups, printing, directory, and application access, as well as accessing other NetWare services.
With the additions of snap-ins, several other Novell products can also be managed, including DirXML, NDS Authentication Services, NFS, Native File Access, Novell Cluster Services, NSS, GroupWise Server, OnDemand, ZENworks, iChain, and many more. Starting next month, we’ll look at some of these snap-ins.
SSL INSTALLATION:
- Download the Primary, Intermediate, and Root certificate files from your DigiCert account.
- Import the root and intermediate certificates into Internet Explorer
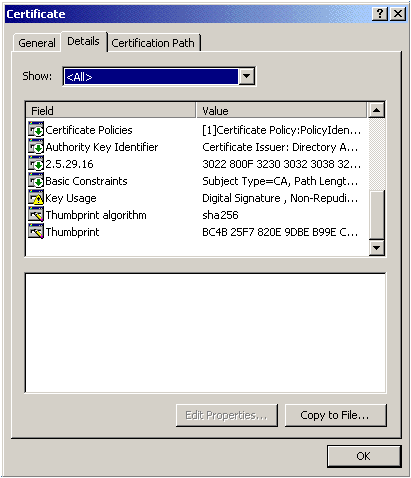
On a Windows Computer, double-click each certificate file and click the ‘Install Certificate…’ button to start the Certificate import wizard. The TrustedRoot.crt certificate must go into your Trusted Root Certification Authorities store, and the Intermediate certificate (DigiCertCA.crt) must go into your Intermediate Certification Authorities store. - Double-click the Primary SSL Certificate (your_domain_name.crt) for your domain. Go to the Details tab, and click on Copy to File.
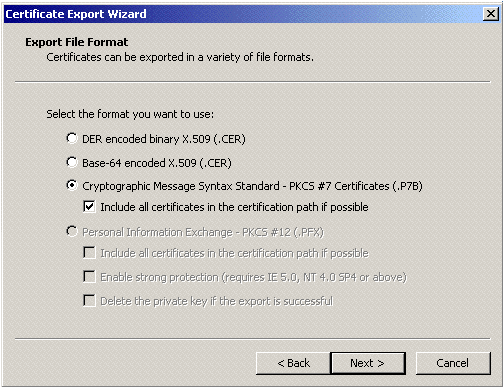
- Choose “Cryptographic Message Syntax Standard – PKCS #7 Certificates (.P7B)” and check the “Include all certificates in the certification path if possible” box.
- Give it a name, and Finish. This will create a single bundled certificate from the three individual certificates.
- Go to ConsoleOne and then to the certificate that created the CSR.
- In the Public Key Certificate Tab, choose Import, select “No Trusted Root Certificate available.” Click next, and then Import the Server Certificate you created.Note: You may recive a warning that says, ‘The subject name requested when the key pair was generated does not match the subject name in the certificate being stored…’ — If you receive this warning, please hit the OK button to import the certificate anyway.
- After you have validated the certificate, it is ready for use.
We hope this article helped you with this easy process. If you cannot use these instructions, we recommend you contact either the vendor of your software or the hosting organization that supports it.

